
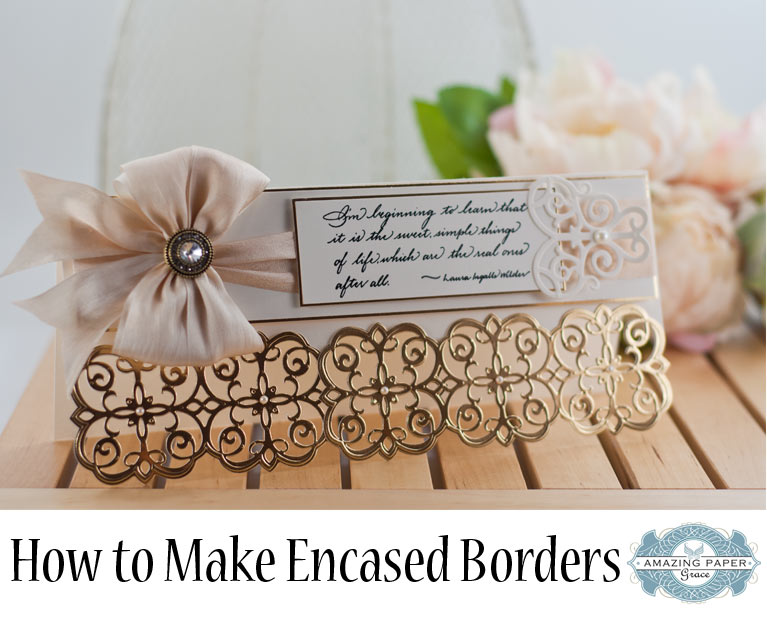

Hi there friends, I have a card to share to day and it uses a technique that earlier I had promised I would share; I’m sharing the card and the technique today. When you make cards that have borders on the bottom, it’s important that the border is strong enough to support the card. What I’m showing you today will make the border strong enough to support the card and will look finished on the inside – I call it Encased Borders.
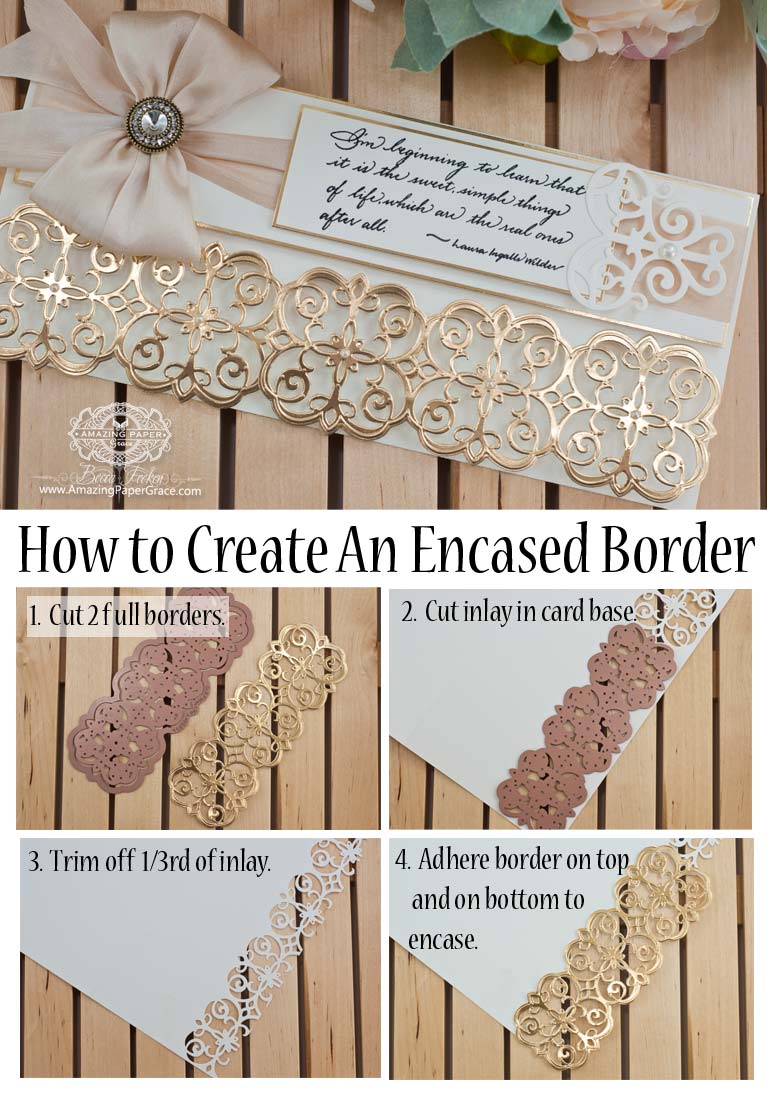
Here are the four steps to make your border strong, give it a nice clean finished edge, make it pretty inside and that wonderful look as though it’s floating. I made mine using Spellbinders Mary Border Strip and added a sentiment to my 4-1/4″ x 9″ (business envelope sized) card using Serendipity Stamps – I’m Beginning to Learn and accenting it with Spellbinders Adorning Accents
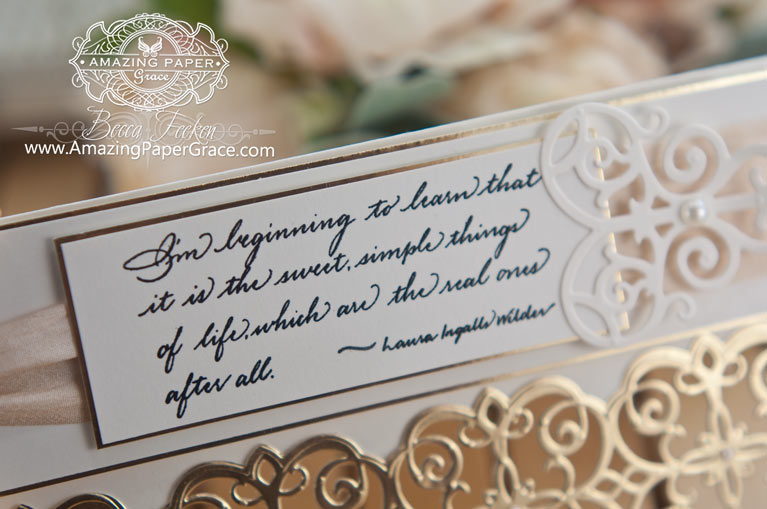

Stamps: Serendipity Stamps – I’m Beginning to Learn
Craft Paper: Neenah Classic Crest 80 lb Smooth (Cover) – Natural White, Gold Poster Board – Hobby Lobby
Ink: Versafine Onyx Black
Dies: Spellbinders Mary Border Strip, Spellbinders Adorning Accents
Accessories: May Arts Silk Ribbon, Button I hope you’ll give this fun treatment a try. It adds nice polish to your bordered cards! See you soon friends!


Love this. What a great technique.
BEAUTIFUL CARD Becca! AND a SUPER TUTORIAL! This adds such GLITZ to this card! THANK YOU!!!! HOPE your day is SUNSHINY!!! ;)
What a wonderful technique, Becca. Only YOU would think of this kind of thing! The gold is awesome with the beige ribbon!! Love the sentiment as well.
Hugs
Mstgane
Ann Robbins
That is so smart! I wondered how you did your borders! Thanks, Becca!
Now I see, thank for that aha moment. Beautiful!
What a clever technique. Simples when you know how and really effective. I will be trying this for sure! Thanks for sharing.
I love this border idea especially using a long envelope sized paper. My art table will be seeing lots of border dies in the future! Thanks for the tip, Becca!
Hello Becca
Thank you for tutorial I will try to copy that !
Take care
Love Marg
Good evening lovely Becca,
This is a beautiful card and that really has your signature all over it between elegence and your cut work that you make so many beautiful cards with. I love when you make a card with something different about it’s design than the norm. Thank you for todays beautiful gift,
love and crafty hugs
Norah (Glenochil Village, Scotland)
WAUW this is so gorgeous Becca, I just LOVE this card here. It´s sooo beautiful and elegant and is certainly looking all finished in any way and very very gorgeous.
Hello Becca,
So easy when you know how. And I know how now!!! Thanks.
Maureen xx
I’m just drooling. This is so gorgeous!!! Thank you so much for sharing your technique. Brilliant!!! I’m totally stealing this idea. I know it won’t look as pretty as your work, but I just have to try it out. Many, many thanks, Becca!
Becca, could you elaborate on how you glue delicate pieces like this? (Maybe you have already explained this on your blog, but I don’t remember! Can you direct me to the post?)
I find when I try to glue lacey stuff the glue just dries as I go along on the lace. I’ve used several kinds of glue pens. I’ve had some luck with the Tombo glue, but if you get a drop of that stuff where it doesn’t belong you are in trouble!
Any advice would be appreciated!!
Oh, this is lovely, looks complicated but I think it’s totally doable. What kind of glue did you use? For this intricate design I think a glue pen would work.
Thank you so much for sharing.
Hi Maria:
I use Ranger Glossy Accents for adhering anything filigree. White glue with a precise tip would work as well :-)
Hi Becca. Gorgeous card, and thank you for sharing your border technique. Will be sure to have a go at this :-) Hugs xxx
Very interesting. Thanks for the explanation. Will try it soon. Edna
Hello Rebecca…another wonderful end refined project…thank you for the tutorial…hugs ada
Hi Becca, not been about for a while hubby not too good. Brilliant card, thanks for the clear instructions.
Gorgeous! Thank you for sharing!
very cool and such a great effect!
Thank you for sharing such an excellent tip Becca – I am definitely going to give this a try. Your cards are always so elegant and pretty – I love to se what you have made. Thank you so much for sahring your skill as you do.
Wow amazing Becca, thank you for the tutorial, so beautiful.
Love & Hugs
jacquie J xxx
Hi Becca you make it look so easy! The tutorial is easy to follow top job.
The card looks so elegant the gold makes it, but the words !!! Are just perfect …
They apply to everyone’s life ! Hugs XXX
Awesome! I have had this issue with my card not standing due to the weakness of the border cut on a card. This will solve my issue. Thank you for the idea, it will be useful to me.
Great technique, Becca! So simple, but I haven’t seen it before. Thank you so much for sharing it with us!
Stunning, Becca, just stunning. . . love your tutorials too, you are always so gracious to share all your tips and techniques with us in blog land. Hope some day you’ll make it to the Pacific Northwest, (especially Eastern WA, Columbia Basin area) I would love to take a class by you or just meet you in person!!!
Good morning Becca, simply breath taking!!! I remember seeing one similar and that too
was breath taking!!! Thanks for sharing your beautiful talent!!!
Have a good one!!! Bless you. Loopy Lyndaxxx
What a fantastic technique! Thanks for the steps to show us how to do this. Your card is just totally stunning!!
BEAUTIFUL as always! Love, Love, Love it.
What a stunning card! I love it!
Hugs
Anne (UK) x
So amazingly creative! Again the words and design complement each other! You are a creative genius!
Beautiful.
Absolutely gorgeous!!! I love your work!
Becca – you are a genius! LOVE this idea.
THANK YOU!!!
Rose
I truly love all of your cards. I do make my own because I, too, feel it is important to touch others with pieces of you.
Thank you for your inspiration.
I love all the cards that you make thanks for sharing yor creativity with us. Chris
Oh how I love cards that are unusual, and this one certainly is that! Love the gold mirror cardstock!
I love to make cards for people,because I feel I give part of my heart to them in a way that going to a store and throwing one in the mail does not.
It takes time to think about the person, plan and choose what to do.
Taking time is important.
[…] So here we are at the half way point! I have to admit that this month has been a highlight to my 8 year blogging career. Had I known how well received these gifts would be, I would have made them available long before now. (Picture me thinking about what happens after July….) Today I’m giving away a card that I promised to give last November. I had to wait until I published how to make the encased border (requested tutorial) and I did that in a post HERE. […]
Absolutely gorgeous Becca, thank you for the tutorial. Love Jane