

This is a project that I’ve had on my mind for a while but it wasn’t until I was in the middle of the project that I realized how many ways I could spin the project or different ways I could apply it. These are simply covers – restaurants have them for their menus and and change out the breakfast menu to the lunch menu and so on.
I’ve always wanted to throw a little tea party or have High Tea and I thought some sort of menu cover would be nice – it would be a place where I could list all the morsels set out to taste. Then I thought wouldn’t it be nice if I could use the same thing for a spring dinner or a cookie party and then my mind spun out of control.
They are so easy to make, I thought a collection with different covers and occasions would sure be easy and would use up all those chipboard tablet backs that I’ve saved. I recently taught a class and this sure would have been the ticket to list the project instructions, at-a-glance, and prop it up in the middle of the table. So let me get into how I made this one.
These are the steps I followed to make this particular cover:
I recycled the backing from the watercolor tablets that I use. They are amazingly thick and I had no idea where they would come in handy but I knew that one day I’d find something. Now I know. Any type of chipboard will do, but to me it seems that thicker is better. Cut as shown in the picture above.
I wanted something to finish off the edges so that you could not see the chipboard and wrapping the paper around the edges might have worked but I didn’t want to try it. At some bookbinding shops you can purchase fabric tape – I don’t have that luxury so in our bathroom I found some silky medical tape that the nurses swore by. I’ve never had to buy it and it seems we have a few rolls laying around. On the inside of the roll it says it is manufactured by 3M and is called Durapore. Use whatever will work for you – even masking tape in the right color might fit your color scheme and tone.
Take your design paper and match it up to the correct piece of chipboard – set aside the smaller piece of 4 x 10.5 chipboard for now. If you like, you can trim a sliver off of each side so your binding will show just a little bit. I put my plaid design paper on the front cover and the back cover and then put my busy print on the inside. With an aggressive adhesive, cover front, back and inside while arranging unbound edge on the inside.
Roll out a good length of tape and place the sticky side face up. Hold your cover together in the correct order. Apply the unbound edges, which will be the center hinge, to sticky side of the tape taking care to center it so you will have an equal amount of binding on both sides of the center hinge.
Open up the cover so that the taped portion is on the outside. Cover the inside with the continuing length of tape taking care to overlap and cut it off at the bottom as inconspicuously as possible.
Pick up transparent strips and fold as shown above. Pickup the white solid cardstock that is 4 x 10.5 inches. Place adhesive on the back in each corner. Place a transparent corner on each of the four corners so that the longer tails should be seen on the backside and a clear triangle on the front side. Glue to chipboard piece that is 4 x 10.5 inches.
On back side run a line of adhesive and tack down a length of ribbon that is at least 14″.
Flip ribbon to the front and glue the completed panel to the inside right side of your cover. Trim the ribbon and add a v-cut for decoration.
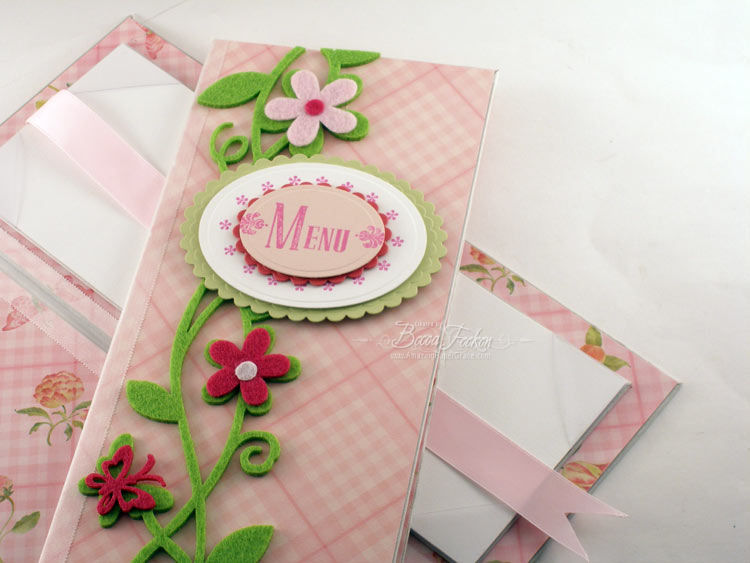
Now I cut each of the above Spellbinders to layer as a medallion for the front cover.
I stamped the word Menu using the Brayton Font and two flourishes from the Special Occasions set. On the larger oval I stamped the ring of flowers from the Harmony Classic Oval Stamper II Stamp Ensemble. I then layered them from smallest oval to largest. I glued down a length of felt border and once arranged, I placed the medallion.
I’ll be making more of these for sure . . . now I just have to save more backing!
Don’t forget, today is new release day for Our Daily Bread Designs. Today Kelley is releasing a new set called You are the Potter and I featured a sneak peak earlier this week. She is also releasing the Serenity Prayer!! ODBD has a big surprise planned on March 17th and my lips are sealed! You’ll need to check back to see what’s in store!!
Thanks for stopping by!!


Beautiful! I love the bazzil bling paper and use it as much as I can. It’s so nice to see it displayed in your card. I need a birthday card, and this inspires me (as I am always inspired on your site) with some great ideas. TFS…your work is awesome.
Gorgeous, I can’t wait to get my lables 4, hopefully next week!!
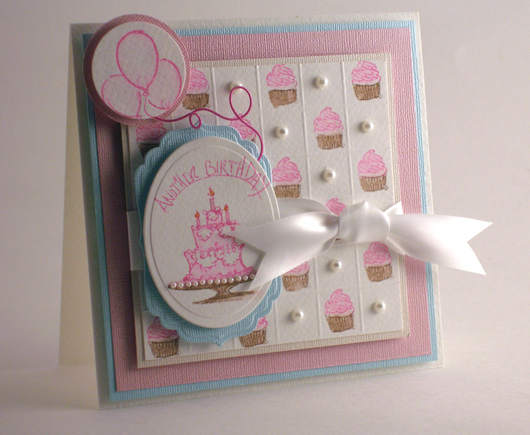
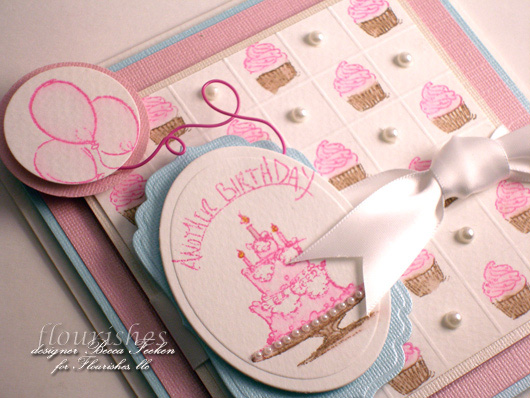
This is adorable! I love the cupcakes/pearls/scoring on the background! Beautiful!!
Another masterpiece! I love the little pearls along the edge of the cake stand, that was the first thing that caught my eye…love it!
Becca,
How FUN!!!! Love cupcakes.
~~Diane~~
Gorgeous card, love your tender colours and the perls – it makes it so elegant and great how you connected the balloons and how you made up your BG … simply, love everything in that card. So well done!!
Becca, I saw this in person and it is absolutely gorgeous…so sorry I missed your class, but so glad I got to meet you. Your talent is amazing!!!!!!!!!!!!!!!
Pinky
So pretty! I love the little cupcake stamp. You’re right – I can’t seem to make a card without spellbinders anymore!
Hi Becca!! Still in Florida… Will be back soon. Love what you have done lately and I just LOVE your menu holder… Thanks for the instructions.
what a pretty card love my spellbinders cant craft without them
Hugs
Norine
Oh, Becca! That is just fabulous! What an amazing background!!!
Becca, this is wonderful!!!! Love the textures, stamped background and layered nestabilities!!! Lovely card!!!
Fun birthday card. I like how you stamped the cupcakes in the background and the cake is great! Becca you are so talented, love it.
Too cute – love those little cupcakes!
BEAUTIFUL CARD – Becca!!! Love the little cupcakes and your scoring and your Spellbinder Die!!!
This is absolutely adorable!!! I love it.
So beautiful Becca!!
I loved this card when I saw it in Pensacola.
You should pm me your phone number so we can chat. I hope you and your family are doing great!
Lovely, my dear, I really love the coloring. Cupcakes and pink, well what could be better.
Becca – this is beautiful – I really love the colors. Awesome !!
So soft and pretty Becca, I love it!
Beautiful card, Becca. What a great use for a mini stamp!
Gorgeous card, Becca! Clever use of the small stamp. I loved the pearls at the foot of the cake. Adorable@
Shirley L.
Roseville, CA
So very cute! Becca…..I just adore your work!
This is really pretty! I love the pearl too and the colors are so soft. The wire going to the balloons is a “real” touch! Overall it is just breathtaking!
Well, I’ve not given in to cupcakes yet but this may push me over the edge. I have some nesties also, which are truly necessarilities. And love the Bazzill Bling…..gee Becca…..you’ve done it once more.
Good evening, Becca- a card not in your usual style but I love it just the same. The colours are so pretty and I love all the techniques and embellishments you’ve used.
Oh this is delightful, Becca! :)
Becca,
Wow, this is one of the prettiest birthday cards that I have ever seen. So sweet.
Lisa A.
What fun Becca, wonderful work.
Another beautiful job Becca. I just ordered the pixie pink paper from Su. I think the color is so pretty especially for an Easter card.
Thanks again for the lovely card and the inspiration that you have given me since I found your site.
Have a blessed day
I was fortunate to be able to take this class with you. It was fantastic. Loved your cards and especially meeting you and spending some time with you. Your work is beautiful.
I feel like a little kid again…
these are my three words:
Gives Blessings together…I have this weeding on my mind that is coming up…
thank you that was fun…
told you I didn’t know how to do this…
picked wrong words…
Stamper Sharing Images…
Simply luscious! The square dry embossing really makes the background cupcakes pop. Your ribbon always satiny and well tied [mine never look that good!]. And the pearls…just the right touch. Thanks, Con.
Wow! A beautiful card!
So nice to hear you too are a child of God.
What is the size of the card ?